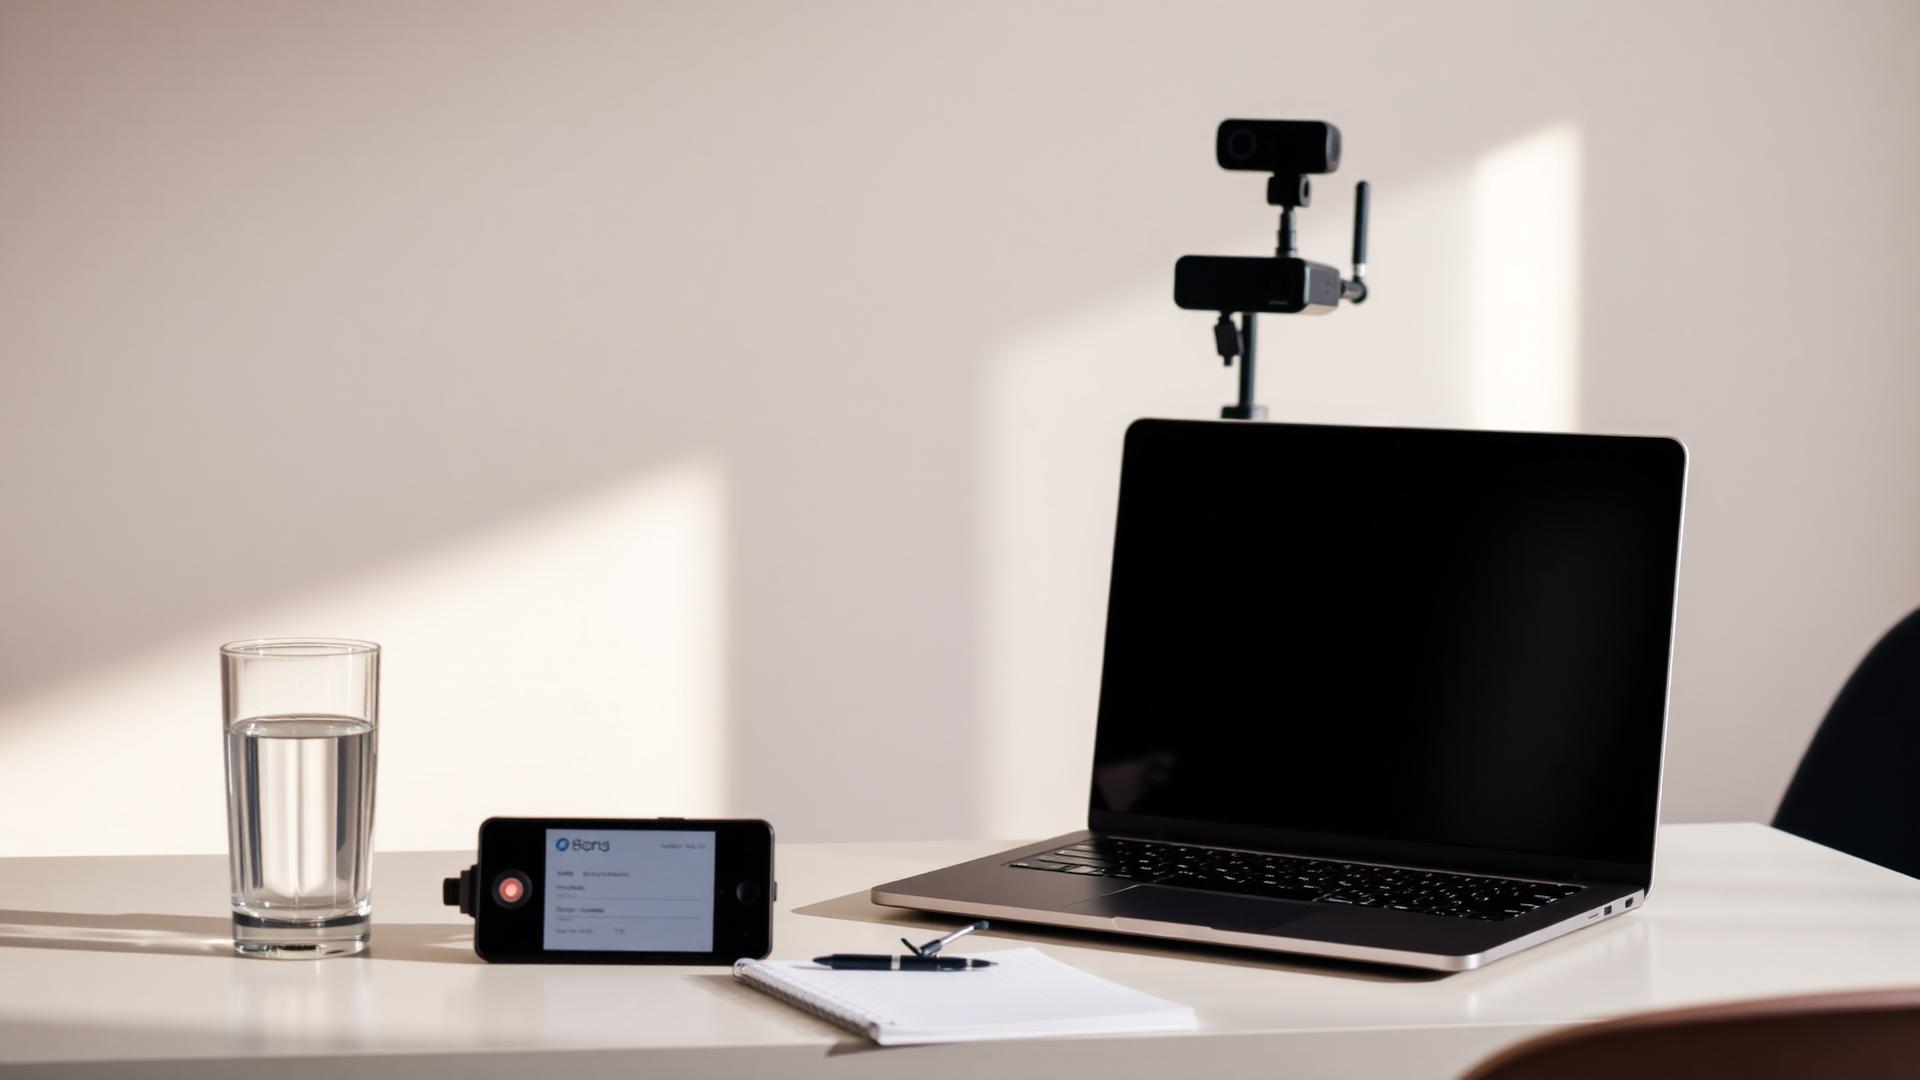
The room scan is a standard part of Pearson VUE's identity verification and exam security process. Knowing exactly what to expect reduces stress, prevents avoidable delays, and helps you begin your exam with confidence. Before test day, review the official candidate requirements for your specific exam sponsor and follow the proctor's instructions throughout the check-in process.
Why Pearson VUE Uses a Room Scan
Pearson VUE uses a short room and desk scan during check-in to verify your identity, protect exam integrity, and confirm that your testing space meets the published requirements for your exam sponsor. The scan is designed to be brief and predictable — it is not intended to be intrusive.
- Identity verification against your government-issued ID
- Confirmation that your testing environment is private and free of prohibited items
- A fair, standardised experience for every candidate
- Assurance that your setup matches the exam sponsor's published policies
Preparing Your Workspace
The single best thing you can do for a smooth check-in is prepare the room the day before. Give yourself space, quiet, and light — not perfection.
- Choose a quiet room with a closed door and no expected interruptions
- Clear your desk of notes, books, phones, tablets, smartwatches, and any secondary monitors
- Remove or cover posters, whiteboards, and anything with visible text on the walls in view of the camera
- Position your chair so the camera can see you clearly from the shoulders up
- Test your microphone and internet at the same time of day you plan to take the exam
Camera and Lighting
Lighting is the most common cause of check-in delays. Aim for even, front-facing light — never a bright window behind you.
- Face a soft light source (window or lamp) rather than sitting with your back to one
- Avoid overhead lights that cast shadows across your face
- Frame the webcam so your full face is visible and centered
- Clean the camera lens and remove any lens cover before check-in
- Confirm your webcam is selected as the default in system settings
Identification Requirements
Pearson VUE requires a valid, unexpired, government-issued photo ID. The name on your ID must exactly match the name on your registration. Always confirm the specific rules in your exam sponsor's candidate handbook.
- Passport, national ID card, or driver's license are commonly accepted
- Photocopies and digital IDs are typically not accepted
- Ensure the ID is clean, not damaged, and free of glare when photographed
- Some sponsors require a second form of ID — check before test day
Check-In Process
The exact steps vary by sponsor, but a typical OnVUE check-in follows this general sequence:
- Sign in to your Pearson VUE account and launch your exam
- Verify identity with a government-issued photo ID
- Take required workspace and profile photos
- Complete the 360° room scan when prompted
- Run the system and network checks
- Wait briefly for a greeter or proctor to launch your exam
Common Check-In Delays
Backlit or shadowed faces are the top reason check-in photos get rejected. Move a lamp to the front of your desk.
Wipe your webcam lens, hold your ID steady, and make sure the full card is in the frame with no glare.
Use a wired connection if possible, pause household streaming, and restart your router before check-in.
Complete all operating system and browser updates the night before — never in the last hour before your exam.
Confirm the correct camera is selected and that no other app (Zoom, Teams, browser tab) is holding the device.
Silence phones, notifications, and household activity. Wear approved headphones only if your exam sponsor allows them.
Technical Issues
Technical issues can occasionally happen even with a well-prepared setup. Stay calm, note the time and any error messages, and contact Pearson VUE support using the official channels listed for your exam. In most cases, the platform can reconnect you to the same session or reschedule at no cost.
Exam Day Checklist
Watch and Learn
Curated video walkthroughs to reinforce what you've just read.
How to Use OnVUE: Pearson VUE Exam Day Walkthrough (2026)
A complete visual walkthrough of check-in through exam launch.
Master Your Proctored Exam Setup
Best practices for preparing your workspace, camera, and equipment.
Accessing Pearson VUE Online Exams
Navigating your Pearson VUE account and launching your online exam confidently.
Understanding Pearson VUE Technical Issues
Common technical issues and how to respond calmly on the day.
Frequently Asked Questions
How long does the Pearson VUE room scan take?+
The scan itself typically takes 1–2 minutes when your workspace is prepared. Total check-in usually takes 15–30 minutes.
Can I have water on my desk during a Pearson VUE exam?+
Most sponsors allow a clear container of water. Confirm the specific rules in your exam handbook — some certifications have stricter restrictions.
What happens if my internet drops mid-exam?+
OnVUE will attempt to reconnect automatically. If it cannot, contact Pearson VUE support using the official number for your region.
Do I need a second device for the room scan?+
Some exams offer a phone-based room scan; others rely on your webcam. Follow the on-screen instructions during check-in.
Can I wear a hoodie or hat during the exam?+
Items that obscure your face or ears may be prohibited. Check your exam sponsor's dress code before test day.
Related Resources
Continue Your Exam Preparation
Explore more study guides, practical preparation resources, and educational videos designed to help you feel confident before exam day.
You May Also Like
Readers Also Viewed

Complete PeopleCert Exam Day Preparation Guide
Adaptive Project Management Explained: Agile, Scrum, and Kanban in Practice

Building Practical Cybersecurity Skills Beyond Certification